If you’re tired of taking baths in an inefficient tub or you’re simply ready for a change, then it might be time to convert your tub into a walk in shower. Not only is this a great way to modernize your bathroom, but it can also be a more efficient use of space. You can also check our article on how to install a shower tub combo and small bathroom with bathtub and shower.
And, with the right materials and finishes, your new shower can also be more comfortable and stylish than your old tub. Here’s everything you need to know about how to convert tub to walk in shower.
There are a few reasons you might want to ditch your tub and install a walk in shower instead. Here are a few reasons that might motivate you to make the switch:
1. You want a more efficient use of space
If you have a small bathroom, then getting rid of your tub and installing a shower can give you a lot more space to work with.
2. You want a more comfortable showering experience
If you have a deep tub, then stepping over the edge can be difficult, and getting in and out of a bathtub can be a bit of a hassle. With a walk in shower, you can simply walk in and out without any obstacles.
3. You want a more stylish bathroom
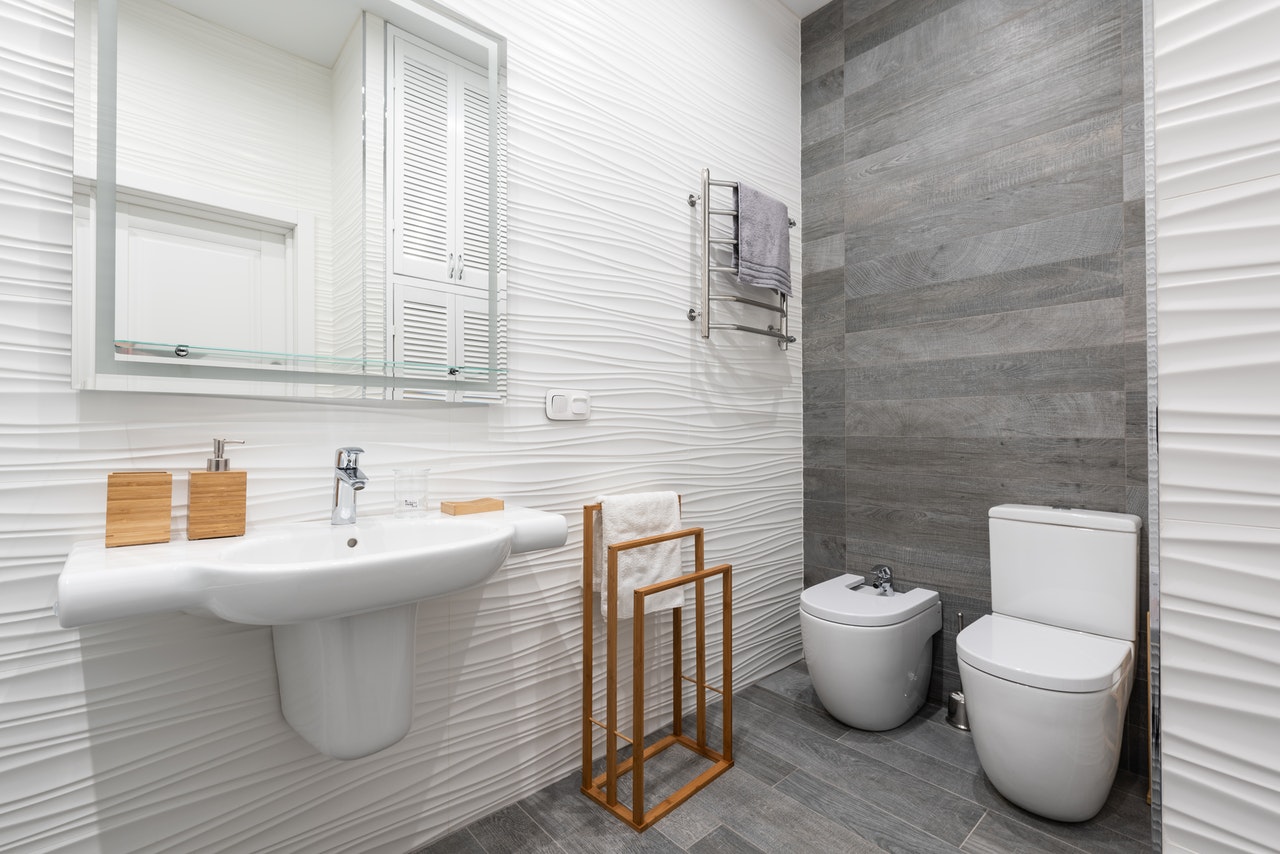
If you’re planning on selling your home or you simply want to update your space, then a walk in shower can be a great way to do it. Walk in showers are more modern and stylish than traditional tubs, so they can help you increase the value of your home.
How to Prepare for the Project?
There are a few things you’ll need to do before you start the project. Here’s what you need to know:
1. Find the Right Shower Base
The first step is to choose the right shower base. You’ll need to measure the space where your tub currently is and find a shower base that will fit. There are a variety of shower bases available, so be sure to find one that suits your needs.
2. Choose the Right Shower Doors
The next step is to select shower doors that fit your needs. There are several different types of shower doors available, so be sure to pick one that works best for you.
3. Select the Right Shower Head
The next thing is to choose the right shower head. You need to find a shower head that can provide you with the right amount of water pressure. In addition, you also need to find a shower head that can provide you with the right amount of water coverage.
4. Choose the Right Shower Fixtures
The last step is to select the right shower fixtures. There are several shower fixtures to choose from, so it’s important to pick the ones that are appropriate for your needs. Make sure to find shower fixtures that are durable and easy to clean.
5. Get the Right Tools
Once you’ve gathered all the materials you need, it’s time to get the right tools. You’ll need a few basic tools, such as a screwdriver, drill, and measuring tape. In addition, you’ll also need some specialized tools, such as a tile saw and a wet saw.
How to Install:
Step One: Remove the Tub
The first step is to remove the tub. Be sure to disconnect any plumbing that is connected to the tub so that you can avoid damaging your pipes. Once the tub is out, you’ll need to remove any tile or other materials that surround it.
Step Two: Prepare the Area
Once you have removed the tub and all of the materials surrounding it, you’ll need to prepare the area for your new shower. This will involve creating a waterproof barrier so that water doesn’t seep through and cause damage to your home. You can do this by using a membrane liner or by installing a preformed shower pan.
Step Three: Install your Shower Base
After you have prepared the area, you can now install your shower base. Be sure to level it off so that it sits evenly and securely in place. Once your base is installed, you can move on to installing your tile or other materials.
Step Four: Install the Shower Head
Once the base is installed, you can install the shower head. Most shower heads come with easy-to-follow instructions. Typically, all you’ll need to do is screw it into place and tighten it with an adjustable wrench.
Step Five: Install the Shower Fixtures
The next step is to install the shower fixtures. This includes installing the handle(s), faucet, and any other fixtures that you want in your shower. Again, most fixtures come with easy-to-follow instructions for installation.
Step Six: Install Shower Doors
After all of the fixtures are installed, you can install shower doors. Sliding glass doors are a popular option for walk in showers. You can also choose from hinged doors or frameless glass doors. Whichever type of door you choose, make sure it’s properly sealed so that water doesn’t leak out of the shower area.
Step Seven: Test your Shower
Once everything is installed, it’s time to test your new walk in shower! Turn on the water and let it run for a few minutes to make sure there are no leaks. Once you’ve confirmed that everything is working properly, enjoy your new walk in shower!
Tips to make your shower more comfortable and stylish
1. Install a Rainfall Shower Head
A rainfall shower head can add a touch of luxury to your shower. You can find rainfall shower heads at most home improvement stores.
2. Add a Shower Seat
If you want to make your shower even more spa-like, add a shower seat. This will allow you to relax and enjoy your shower even more.
3. Use Decorative Tile
Decorative tile can add a lot of personality to your shower. You can find tiles in a variety of colors, patterns, and materials. Be sure to pick a tile that is durable and easy to clean.
Conclusion
Converting a tub to a walk in shower is a great way to update your bathroom. It can also make your bathroom more pleasant and attractive. Be sure to follow the steps above and choose materials that will best suit your needs.
We hope this post on how to convert tub to walk in shower was helpful. If you liked this article, be sure to share it with your friends!


Leave a Reply