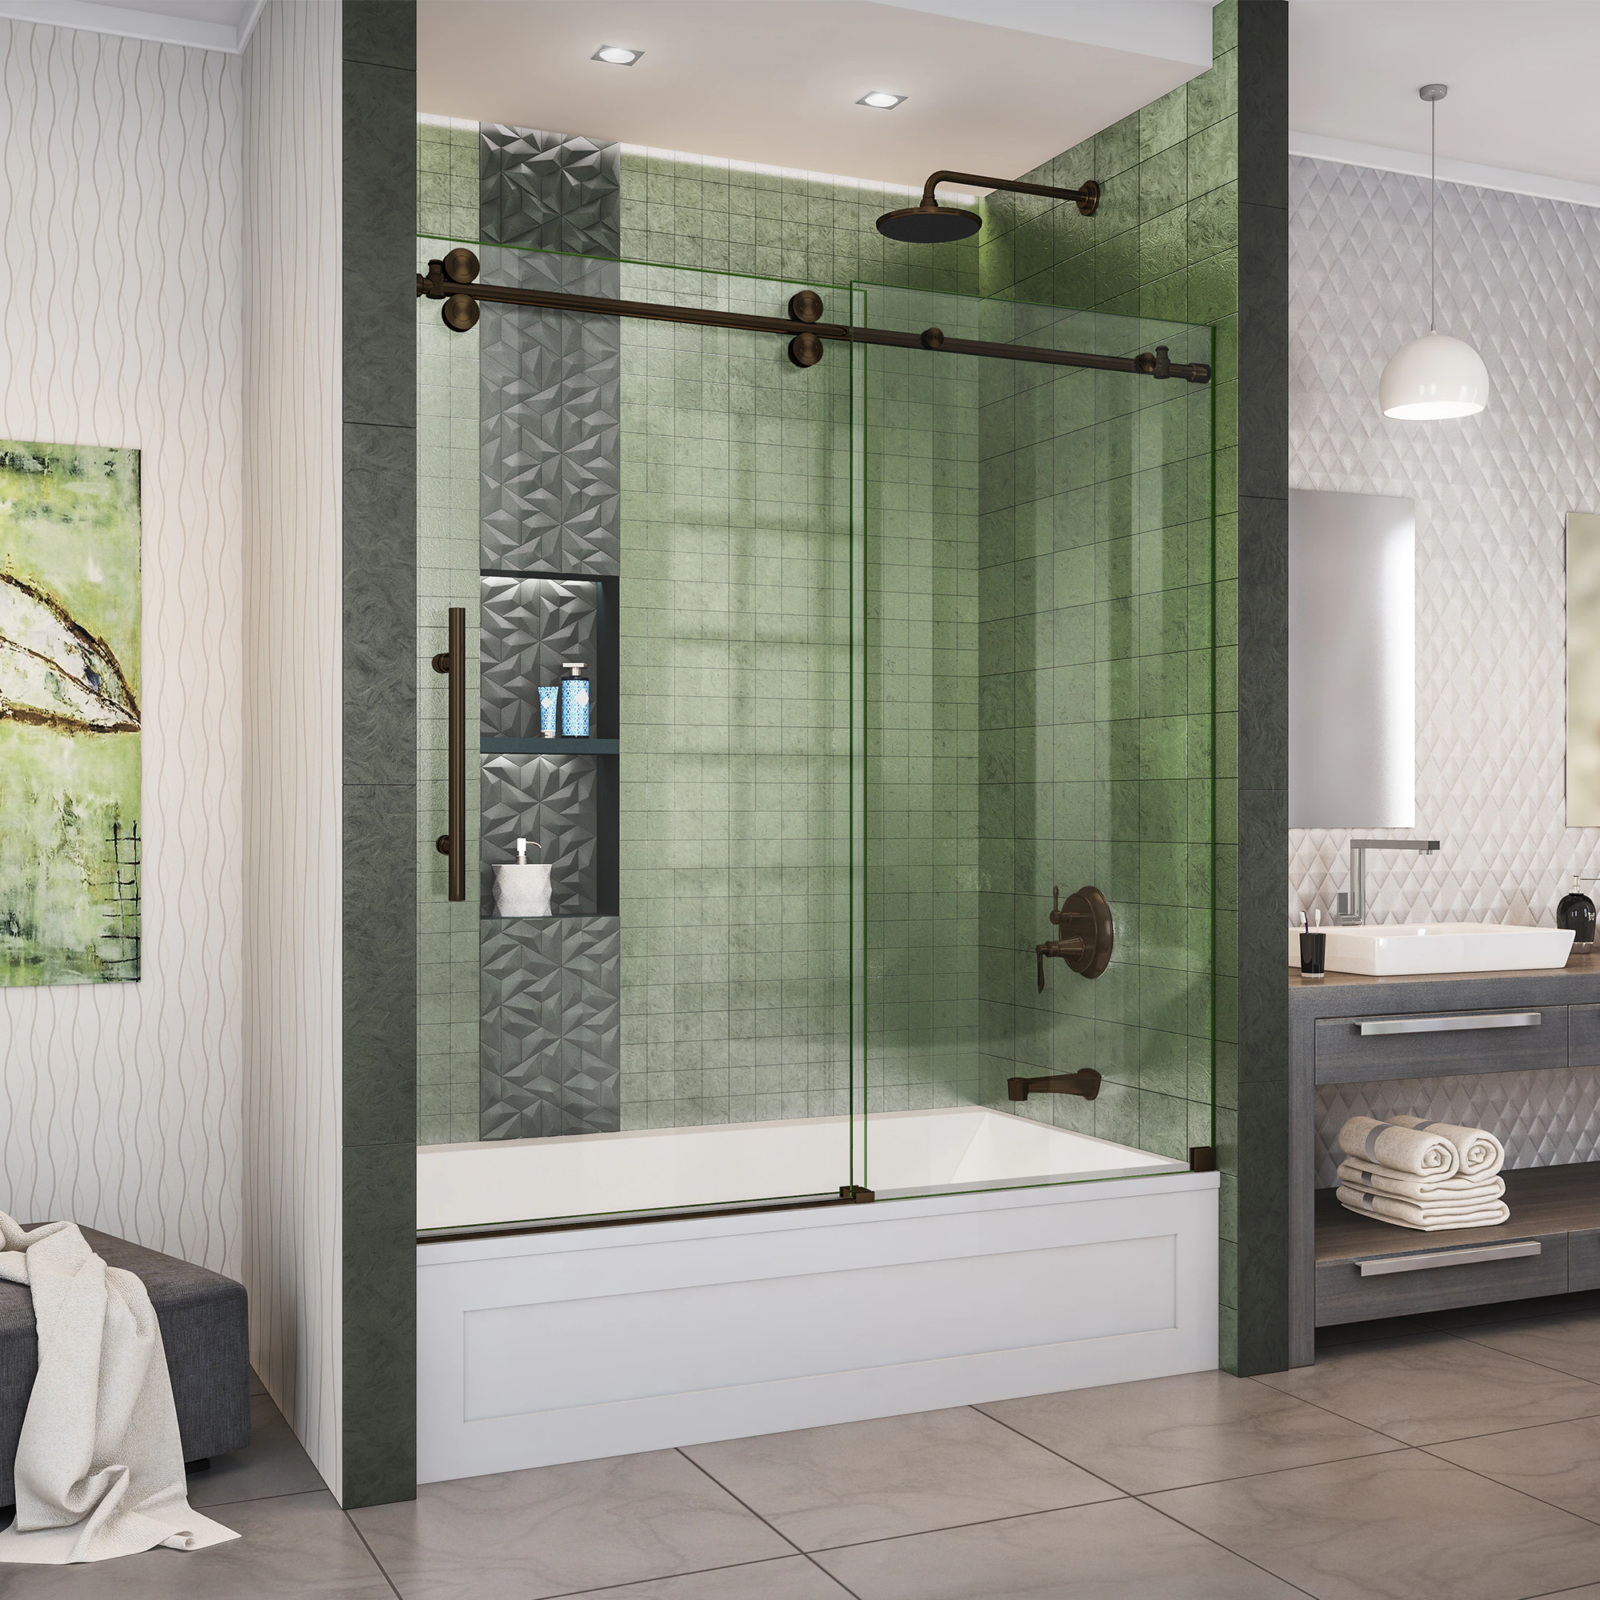
If you’re looking for a way to upgrade your bathroom without spending a lot of money, installing a shower door is a great option. Shower doors add a touch of luxury and can make your bathroom feel more spacious. Plus, they’re relatively easy to install if you have the right tools and know-how.
In this blog post, we’ll show you how to install shower door on tub in just a few simple steps. You can also check our article on how to install a shower tub combo and small bathroom with bathtub and shower.
Choosing the Right Shower Door:
In order to have a properly fitting shower door, you will need to buy a kit specific to the size of your shower or tub. Ensure that you take measurements of the doorframe from top to bottom, so you know how much space on either side of the wall will be taken up.
The door should have an opening that is equivalent to or larger than your largest measurement. The vertical space between the tub ledger top and the tub surround top should be measured. The height should be equivalent to or lower than the least of these requirements.
Prior to Beginning:
You need to make sure that the sidewalls are plumb and the tub is level. You might require wall filler or ledge filler to bring them to level again if they are more than 1/4 inch off of level. If you’re not confident in your ability to make this repair, call a professional.
Tools and Materials Needed:
Tools List:
Hacksaw (32 teeth per inch blade is ideal)
Measuring Tape
Safety Glasses
Pencil
Electric Drill
Drill Bit 1/8” for installation on fiberglass
Drill Bit ¼” masonry (for installation on marble or tile)
Power Screwdriver
Miter Box or Square
Center Punch
Level
Caulk Gun
#2 Phillips head screwdriver
Ladder
Materials:
100% Silicone Sealant
Masking Tape
Liquid Nails- Optional
Below are the steps to install the shower door on the tub:
Step 1
You will lay your track in the middle of the ledge of the tub, so measure the distance from wall to wall there. In order to leave space for the channels of the wall to fit in comfortably, a subtraction of 3/16 inch. should be made from the total width you have just found.
Step 2
Put your track on the tub ledge’s center. The track’s “high side” should face the tub’s outside. This is done to stop shower water from spilling on the floor.
Ensure that the wall channels have the same amount of space at the track’s both ends. The track should lay horizontally on the base of the shower or the ledge.
Step 3
To get an exact fit, take the channels of the wall and move them through the track. Be cautious not to reposition the track from its current location on the ledge of the tub. The channels of the wall must flatly rest facing the walls and be completely attached to the bottom track.
Make sure that the channels of the wall are plumb to the wall using your level. Mark the wall channel’s mounting holes, and then repeat the process on the track’s opposite side. After that, you have to drill holes and enter the anchors of the wall.
Step 4
To ensure that the silicone sealant will stick properly, make sure the surface is clean before installing the track. The grout line wherein the track’s end will be placed should have a bead of sealant applied there.
On the track’s outside leg, you’ll just put a heavy continuous bead on the underside. Place the track where you already indicated it on the bathtub. The tack’s high side needs to be facing the tub’s exterior. The channels of the wall should then be put in position, fitted, and firmly fastened. The bumpers must be put in place where the upper and the lower screws are.
Step 5
Prior to the header attachment, you must gauge the distance between the wall channels’ top. The header would then fit tightly onto the channels of the wall if you deduct the measurement by 1/16 of an inch. Before cutting, check the header’s dimensions. After that, lower your header onto the channels of the wall.
Step 6
Attach the rollers to the panels of the door. The roller can be installed in the next/second hole from the top. The additional holes are there in the event that you need to make some alterations so the panels fit correctly. Place the lower guide channel’s side and the panel’s outer sliding rollers side by side.
Step 7
The panel of the interior sliding must be installed next. The rollers should be facing the tub as you raise the panel, holding it from the sides to the header’s inner side. Verify that the track of the inward roller is supported by both rollers. The panel of the interior sliding should be moved toward the shower head at the tub’s end.
Check the panel’s placement to make sure it is aligned to the wall. The sliding panel’s edge should contact both bumpers. To prevent water from splashing out, you should ensure that both panels of the sliding are positioned as minimal as feasible.
A little short track may be found in the middle of the lower track on many shower door models. The door we used had two clips. Before sliding the panel of the door into place and tightening the panel’s clip using a screwdriver, you must insert the clip into a slot beneath the bottom track.
The panel of the outer sliding is installed by raising it into the header’s underside while holding it against the sides and facing the rollers outward. Release the panel slowly after ensuring that both the rollers are sitting on the track of the outer roller. The lower guide channel moves over the track’s high side.
Step 8
Spread the silicone sealer to the interior and exterior seams of the wall channels as well as the track’s ends where it joins the wall channels. After the sealer has dried for almost one hour or so, you may test the doors to make sure they’re working properly.
Conclusion
That’s it! You’ve now learned how to install shower door on tub. Now that you know the process, it should be a breeze to do it yourself. Just follow the steps, and you’ll have your new shower door installed in no time.