
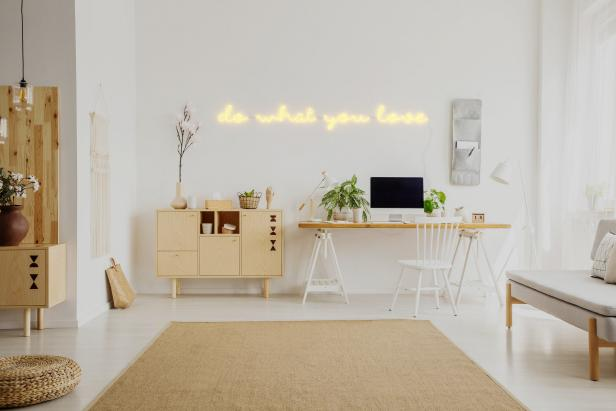
In recent times, neon lights are increasingly used as home decor. More and more people are becoming interested in setting the mood of their rooms by using neon sign quotes and art, that you can choose from a variety of shapes, colors, and designs. This long-been-used lighting art can definitely make any room or part of your home look more fun, unique, and quirky.
So if you are thinking about ordering a neon sign, or you have just received your own lighting art, you may be curious on how to properly put these neon lights in your room. Other than making sure your neon light is aesthetically pleasing, it is also vital that you install it correctly so that you will have no problems about it in the future.
With that, here are the steps on how to build your own neon sign in your room:
Step 1: Open your neon light package or box
The first thing you should do is open your neon light package or box and read its manual or instruction on how to assemble the product. Once you read the manual, you should check if all the items needed to hang the neon light are complete. These include the neon sign design or art itself, hardware with clips, and screws. It must be noted that hardware with clips usually come with the neon light package when buying them. If hardware neon light clips are not provided in the package, you can usually buy from a hardware store.
Step 2: Attach light set with the clip
After you are sure that the items in the package are complete, we suggest that you attach the light set with the hardware with clip. It is highly advisable that you attach the clips every 5 inches. Press the clips gently onto the back of the neon light until they snap into place. It must be noted that you must be very careful when attaching the clips because the neon lights are thin and thus could easily break.
Step 3: Locate the part of the room where you want to hang or put your neon light
Once you have your light set ready for marking, you must decide on which location in your room you want the neon light to be placed and at what height you want to hang it. Most experts in interior design recommend putting your neon lights at least 57 inches high from the ground.
Once you have decided where to hang your neon light, take a pencil and mark the hole location through poking the pencil in each hole on the hardware clips. These marks indicate where the screws will go. It is important to make sure that the neon light set is pressed against the wall when doing these markings.
Step 4: Anchor your neon light
For additional structural support, you can consider using drywall anchors. However, these anchors vary depending on the neon light design you have ordered. In some light sets, these anchors come with the package to provide for more wall support when installed. Furthermore, these Anchors frequently come with light sets that have an attached backboard. Anchors commonly come as metal tubes with grooves on the inside in order to hold the screw. We suggest to push one into each hole if your neon lights came with these anchors.
Step 5: Drill the marking
Once you have done anchoring your neon light (if they come with such), you should then drill pilot holes into each hole you have marked on your wall. First, for safety purposes, you should take the lights away from the wall and put them in a secured area. Take your power drill and place a drill bit approximately 90% as thick as the screws you are using. Drill into each dot to make pilot holes for the clip screws. If the wall in your room is made up of brick or concrete, make sure to use masonry drill bits so that the screws that you will be using do not break.
After that, you must drill screws into each hole slowly. Take a screw and insert it into the first hole by hand when the holes are lined up. Next, insert the screw the rest of the way as slow as possible using your drill in order to avoid breaking the screw and damaging the light. Keep repeating this until each clip or part of the backboard is attached. It must be remembered that you hold the light up until all the screws are attached.
Step 6: Plug in your neon light
When the lights are fully attached and secured, it is generally safe to plug them in. It is important to not to hook up the lights before they are attached to the wall. Also, it is important to read the wiring instructions before plugging just to be safe. Once you plug your work, make sure the neon tube lights up and there are no observed dysfunctional parts in the whole neon tube light.