


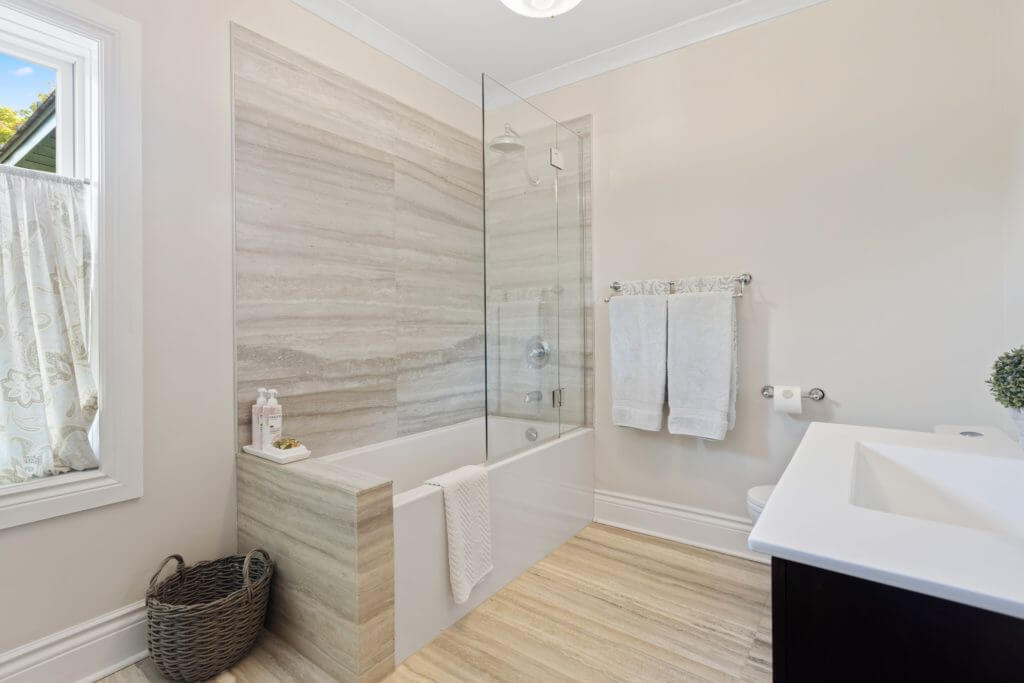
Shower tub combo units offer the best of both worlds—a place to relax with a long, hot shower at the end of a long day and a tub for those times when you want to soak in a bubble bath. You can also check our article on how to convert tub to walk in shower and bathroom ideas tub and shower.
But what do you do when your shower tub combo starts to show its age? Replacing it with a new unit is a big job, but it’s one that you can definitely handle on your own with a little know-how. Here’s a step-by-step guide on how to replace a shower tub combo.
Before you start:
You need to choose the right shower tub combo unit for your space. Make sure to measure the space before you go shopping, so you know what will fit.
There are other things to think about when choosing a shower tub combo unit, like what style you want and what features are important to you. What will be the material of the unit? Are you looking for a specific type of faucet? Do you want a shower head with multiple spray settings or a simple one?
Once you’ve decided on the perfect shower tub combo unit, it’s time to get started with the replacement process. Here’s what you need to do:
1. Turn off the water to the shower tub combo unit
First things first—you need to turn off the water to the shower tub combo unit before you start working. This is important so that you don’t accidentally flood your bathroom while you’re working.
For turning off the water, you’ll need to locate the main water shut-off valve for your home. This is usually in the basement or crawlspace. Once you’ve found it, turn the knob to the “off” position.
2. Turn off electric power to the unit
Turning off the electric power to the unit is the next step in replacing a shower tub combo. There are typically two ways to do this: by shutting off the breaker at the main panel or by flipping the switch next to the unit.
If you’re not sure which method to use, it’s always best to err on the side of caution and shut off the power at the main panel. This will ensure that there’s no electricity running to the unit while you’re working, which could be dangerous.
3. Disconnect the water lines
Before beginning any work, it is important to make sure that the water lines are disconnected. This will prevent any leaks or water damage while the tub is being replaced.
To do this, start by turning on the faucets to drain any water that may be left in the lines. Once the water has been drained, use a wrench to loosen the nuts that connect the water lines to the unit.
You may need to use a pair of pliers to disconnect the P-trap, which is the curved portion of the drain pipe. Once everything is disconnected, you can remove the water lines from the area.
4. Remove the old unit
Most shower tub combinations are held in place with metal brackets that are attached to the studs in the wall. To remove the old unit, you will need to first remove the screws or nails that are holding the brackets in place.
Once the brackets are removed, you should be able to pull the old unit out of the opening. If the old unit is particularly stubborn, you may need to use a pry bar to loosen it. Be careful not to damage the surrounding walls as you work.
Once the unit is removed, dispose of it properly and ensure that the area is prepped for installation of the new unit.
5. Install the new unit
Installing the new unit is essentially the reverse of removing the old one. Read the manufacturer’s instructions carefully to make sure that the unit is installed correctly and securely.
Start by placing the new unit in the opening, then use the brackets to secure it in place. Be sure to use screws or nails that are long enough to reach into the studs for added stability.
Once the unit is secured, you can begin reconnecting the water lines. Make sure that all of the connections are tight so that there are no leaks. If you are unsure about how to properly connect the lines, you can always consult a professional plumber.
6. Turn the water back on and test the unit
Once everything is properly connected, you can turn the water back on at the main shut-off valve. Then, turn the power back on at the breaker box or switch next to the unit.
Before using the shower tub combo, it is always a good idea to test it out first. Run the water and check for any leaks. If there are no leaks, you’re all set!
If you run into any problems, don’t hesitate to call a professional for help. They can troubleshoot the issue and get your new shower tub combo working properly in no time.
7. Finish up
After you have the new tub in place, it’s time to caulk and seal around it. Use a silicon-based caulk for the best results. Start by running a bead of caulk around the edge of the tub where it meets the wall.
Then, use your finger to smooth out the caulk and create a nice, even seal. You’ll also want to run a bead of caulk around the drain opening. Once again, use your finger to smooth out the caulk and create a watertight seal.
Finally, wipe down the tub with a damp cloth to remove any residual caulk or grout. Allow the caulking to dry for 24 hours before using the shower. This will give the caulk plenty of time to set and create a strong seal.
Conclusion
Replacing a shower tub combo unit is a relatively easy DIY project that most homeowners can handle with minimal tools and experience. Be sure to follow the manufacturer’s instructions carefully and take your time to ensure that the unit is installed correctly. With a little effort, you can have a brand-new shower tub combo unit that will last for years to come.
We hope that this post has been helpful in showing you how to replace a shower tub combo. Please feel free to share it with your friends or family members who may be looking to do the same!